
Micro Build Report: Kanga Rooster 40 m CW Transceiver
As probably evident by all my micro build reports on the QRPMe Tuna series I have a soft spot when it comes to building ham radio kits. To me there’s a notable difference when you go on-the-air using a self-assembled kit vs. turning on your commercial transceiver. Also the assembly process is usually a lot of fun 😉
Always on the lookout for affordable and fun ham radio building kits I’ve come across the Kanga Products Rooster 40 m CW transceiver (also available in a version for 30 m). This excellent little rock-bound (7.030 MHz) CW transceiver comes with the best assembly instruction manual I’ve seen to date which made the overall assembly process highly enjoyable. During several stages of the design the builder is asked to perform small tests which confirm the correct working of the recently completed stage. Below you can find a couple of images from the build process:


Testing
The next step after completion of the kit assembly is to test the newly assembled transceiver. A first basic test was performed using my trusted FT-817ND to transmit a signal in order to check correct reception by the Rooster as well as transmitting a CW signal with the Rooster and receiving it with the FT-817ND. Since the FT-817ND contains a VFO it can also be used for „calibrating“ the transceiver to send and receive at exactly 7,030 MHz (mine was off a couple of kHz after assembly, but that’s what the „calibration phase“ is for).
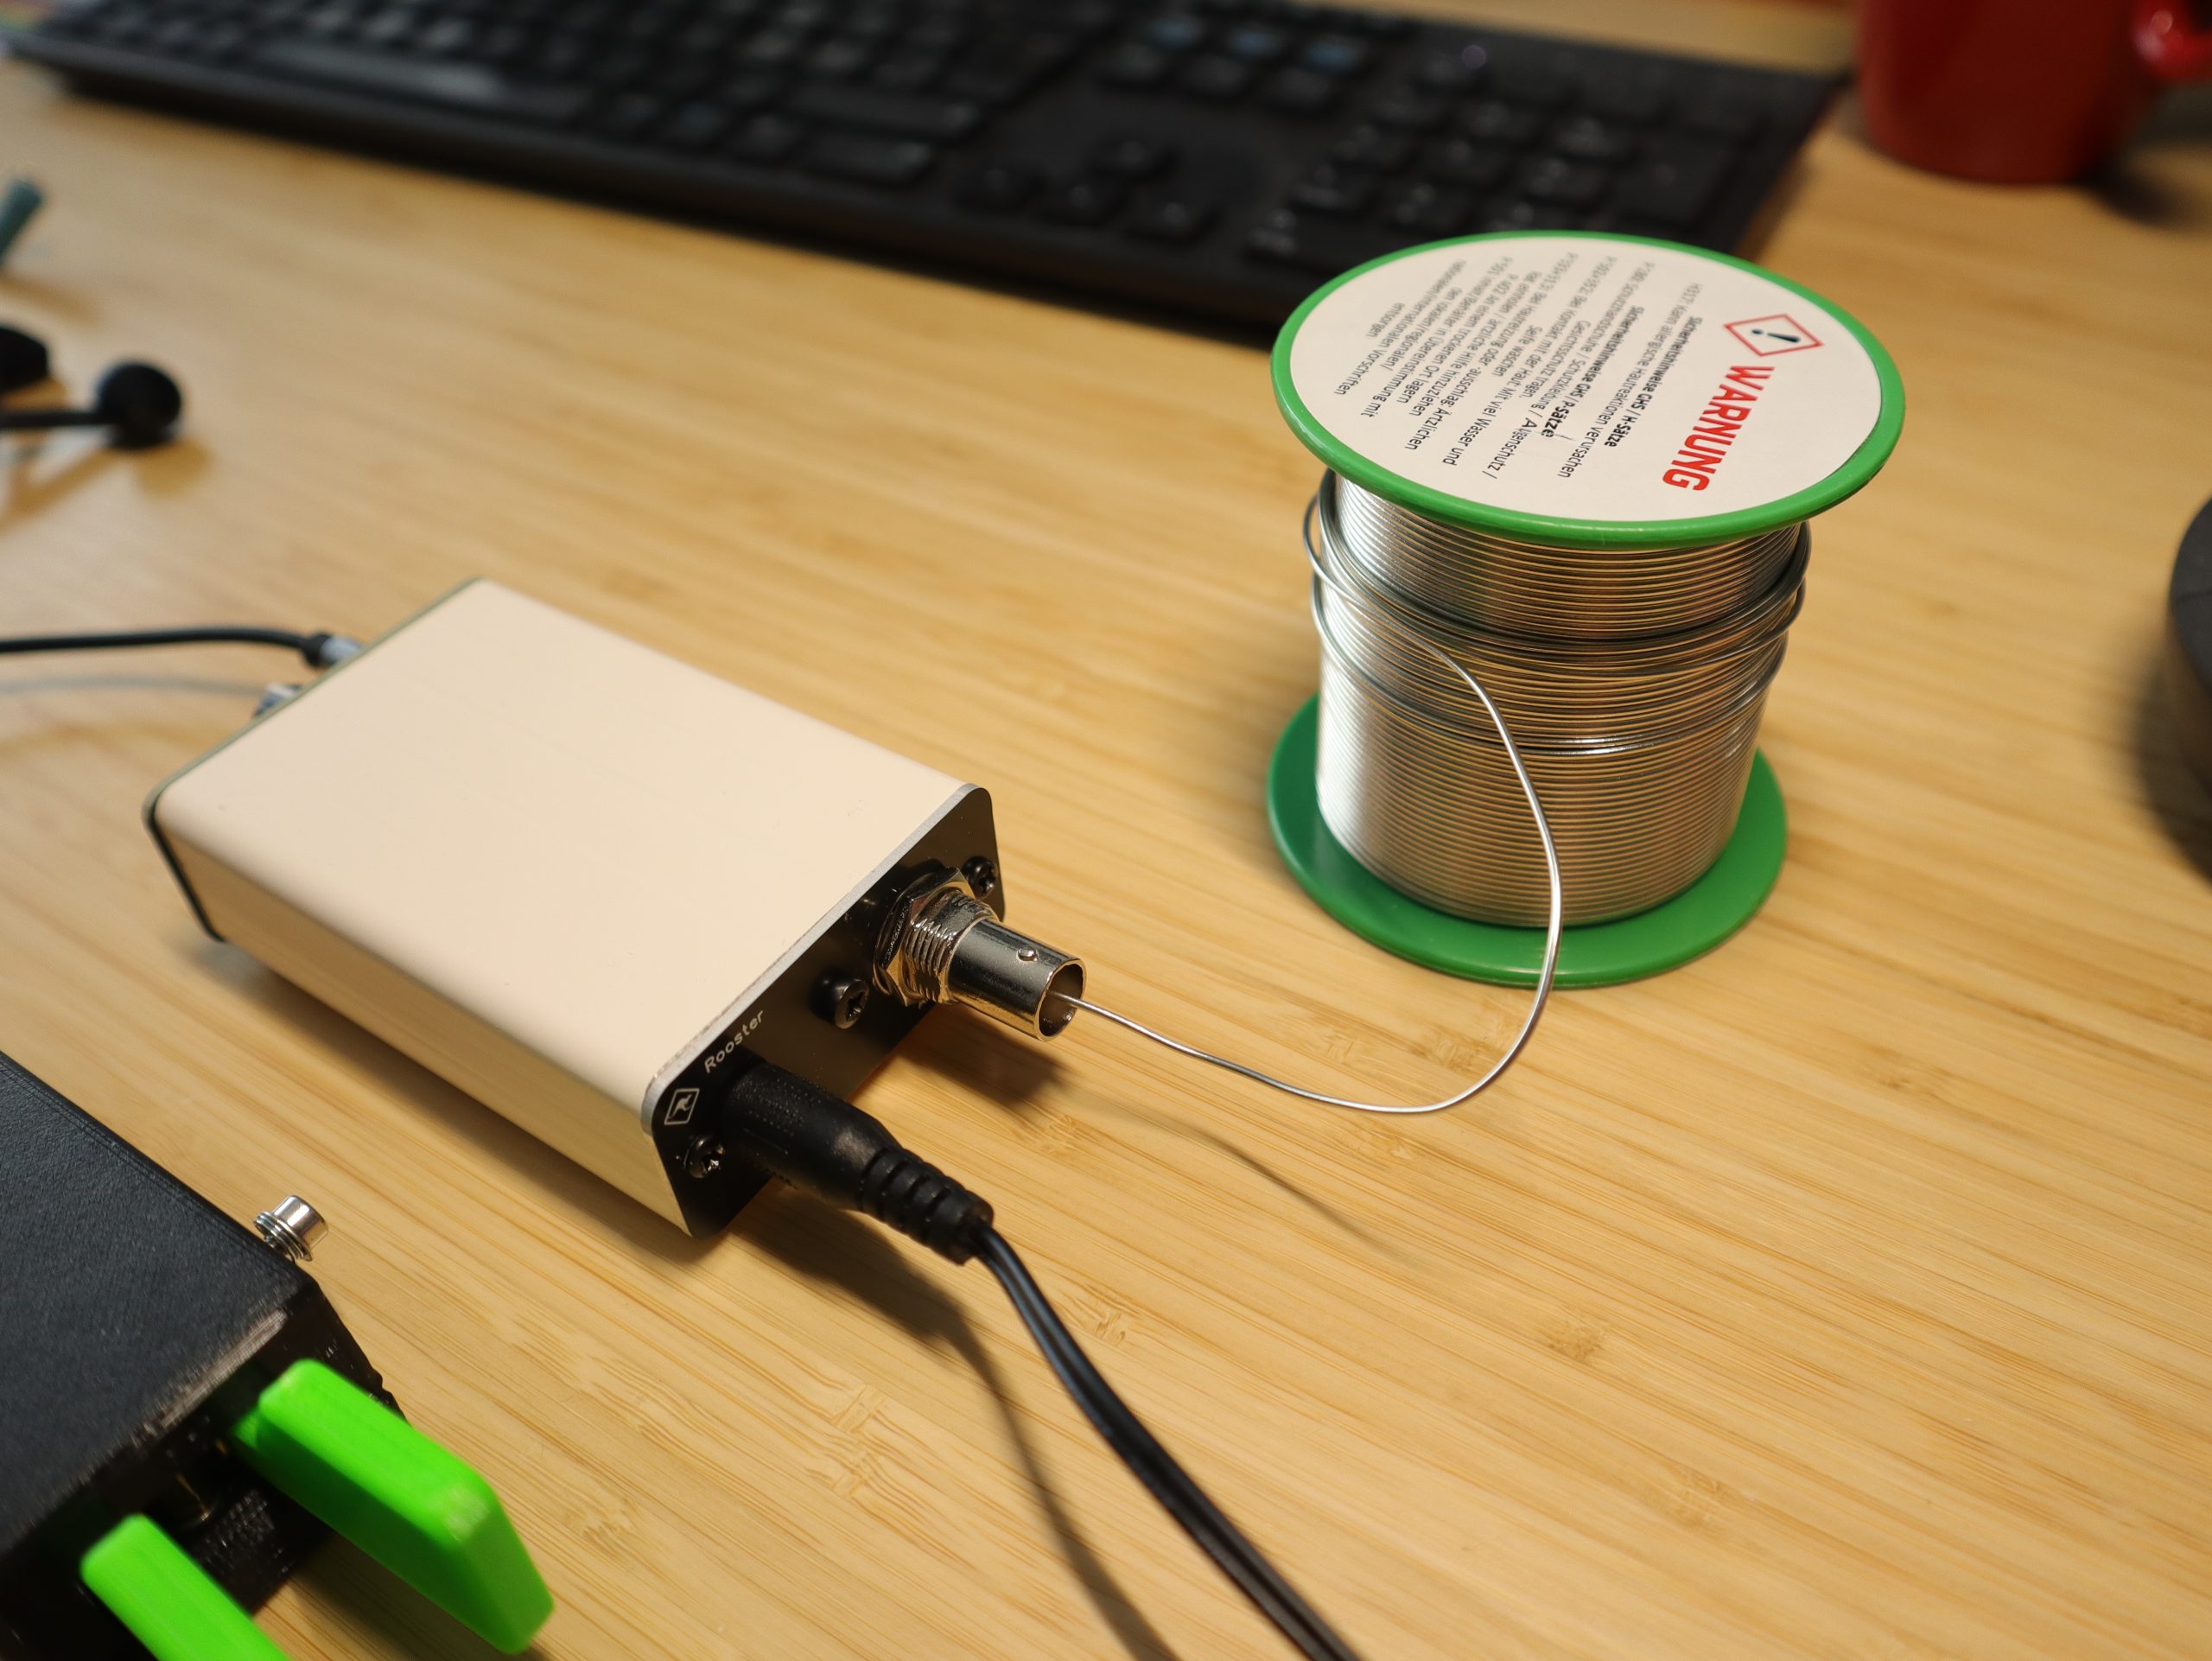
Since the DUT Rooster was placed in close proximity to the FT-817ND a very rudimentary antenna was sufficient to induce enough RF energy in the others radio’s receiver circuit. Basically I plugged one end of my tin solder into the signal carrying conductor of the Rooster’s transceiver BNC connector 😉
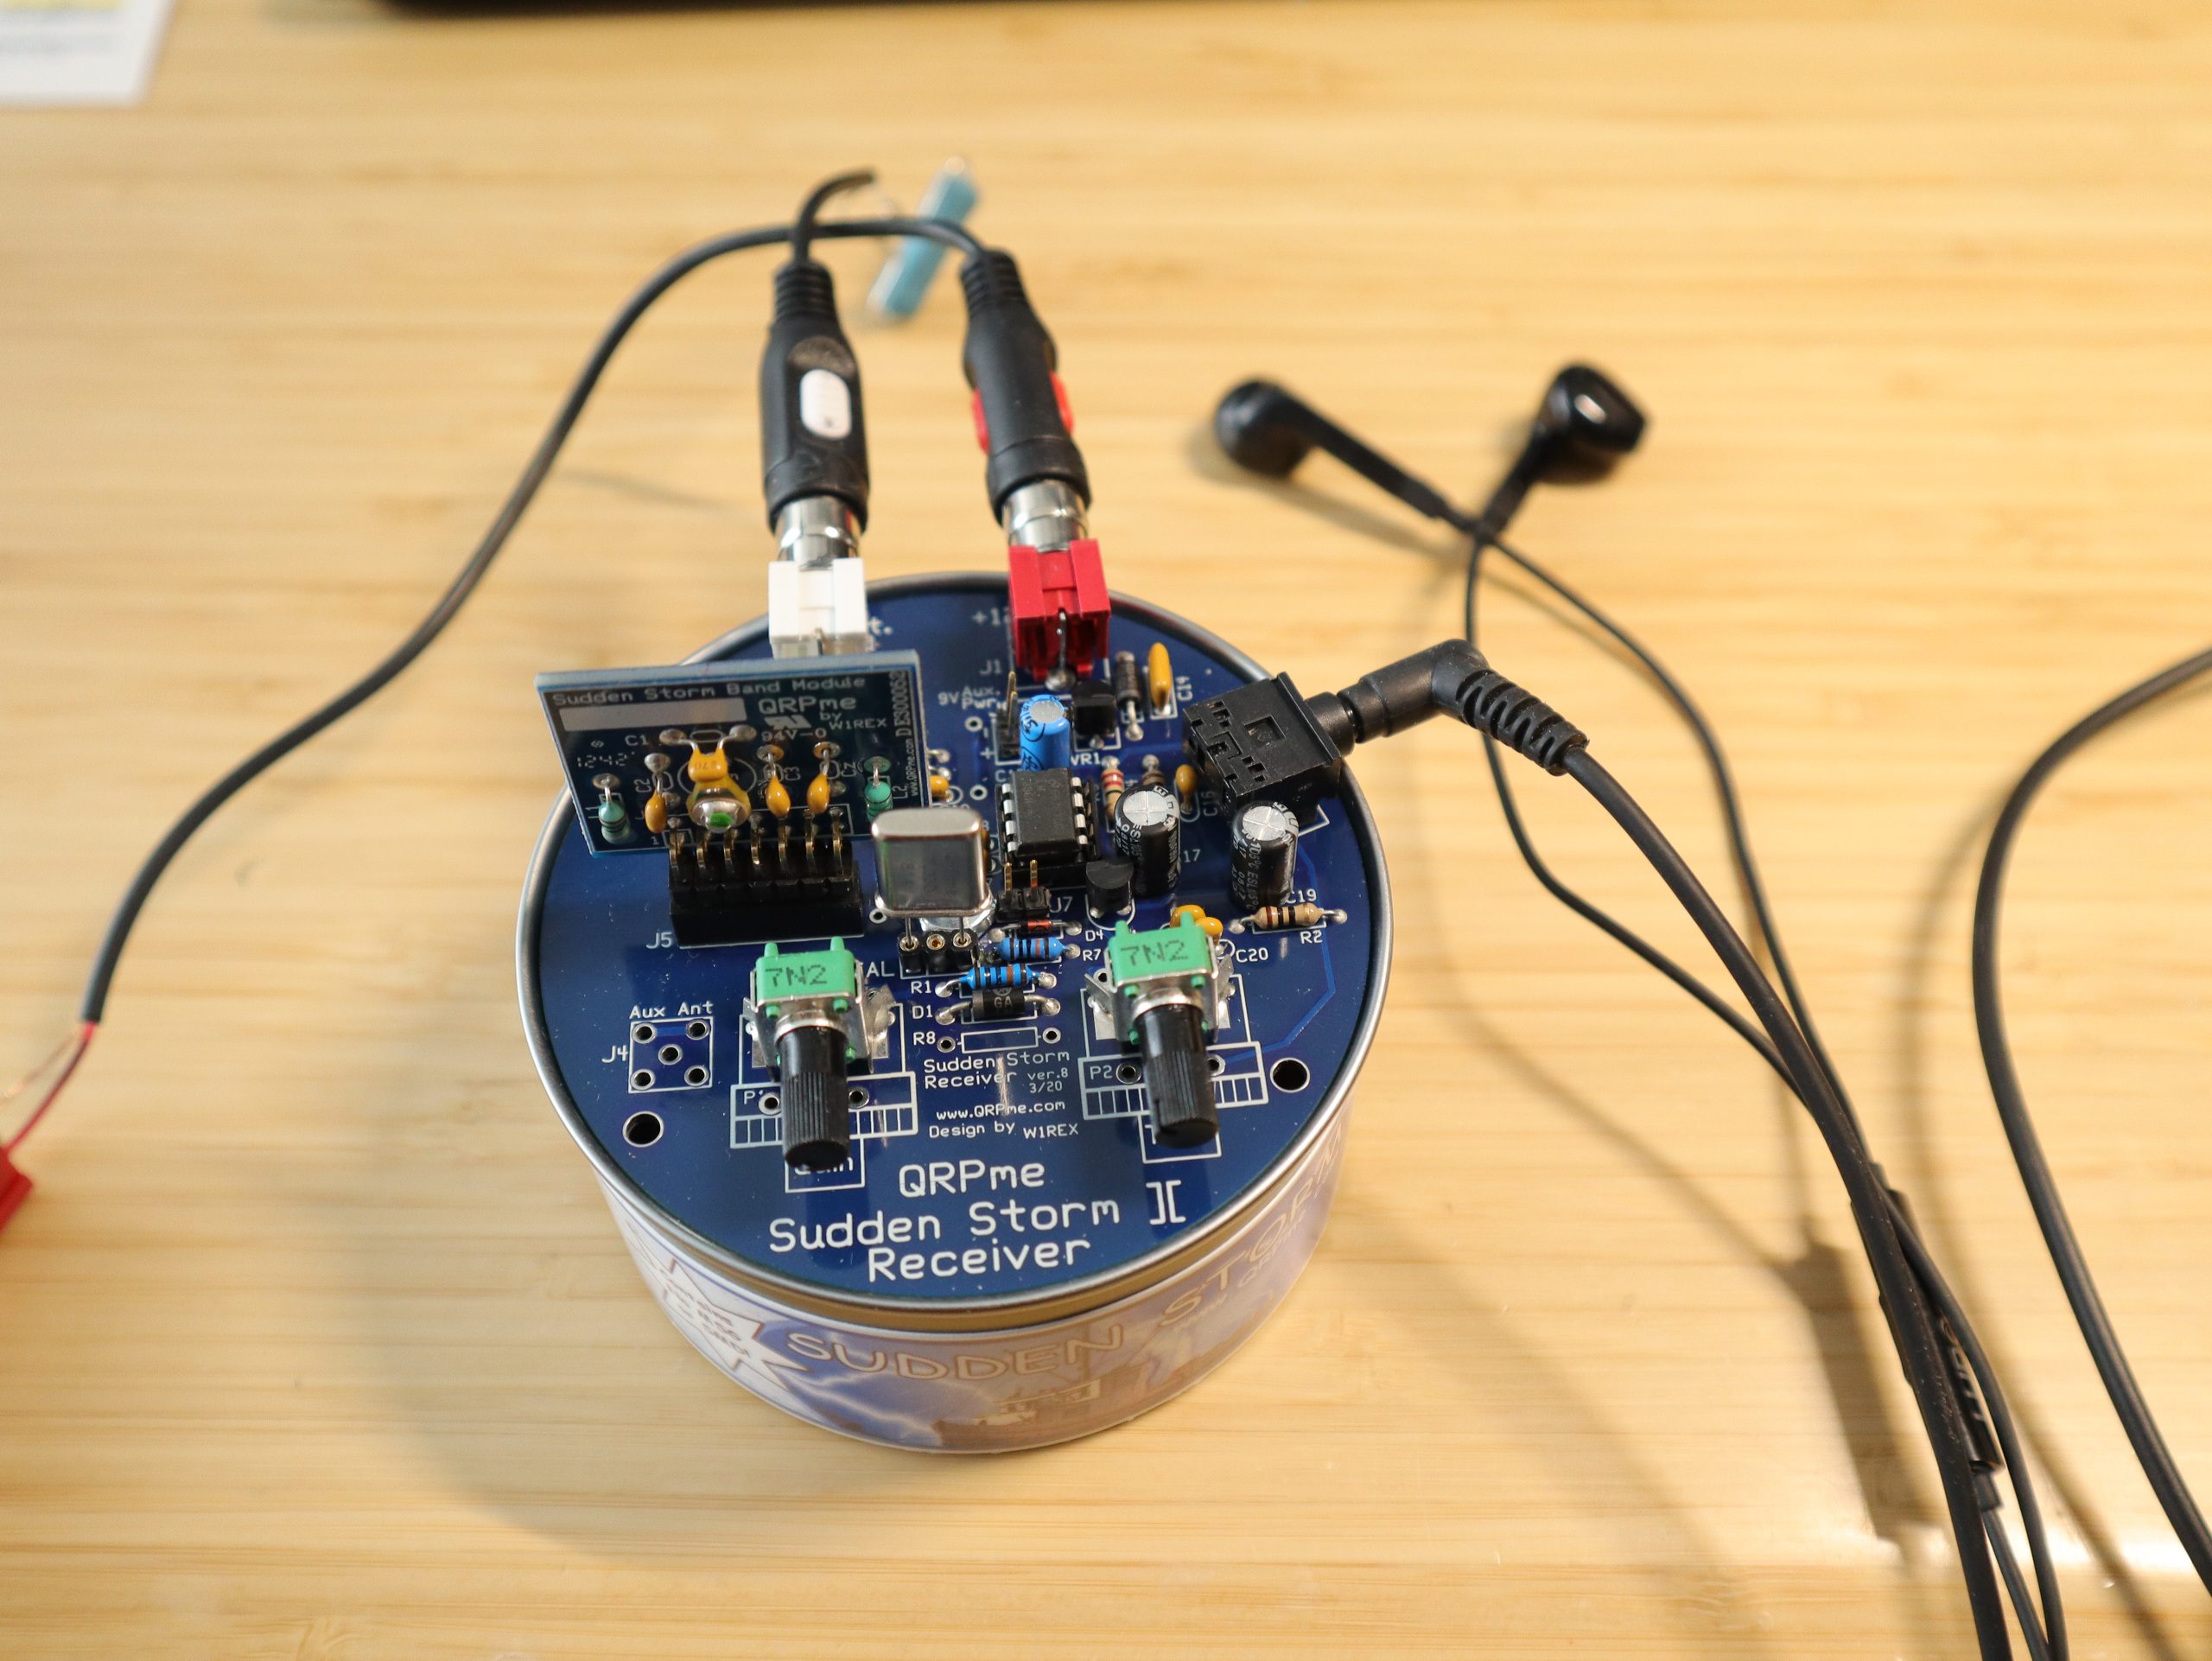
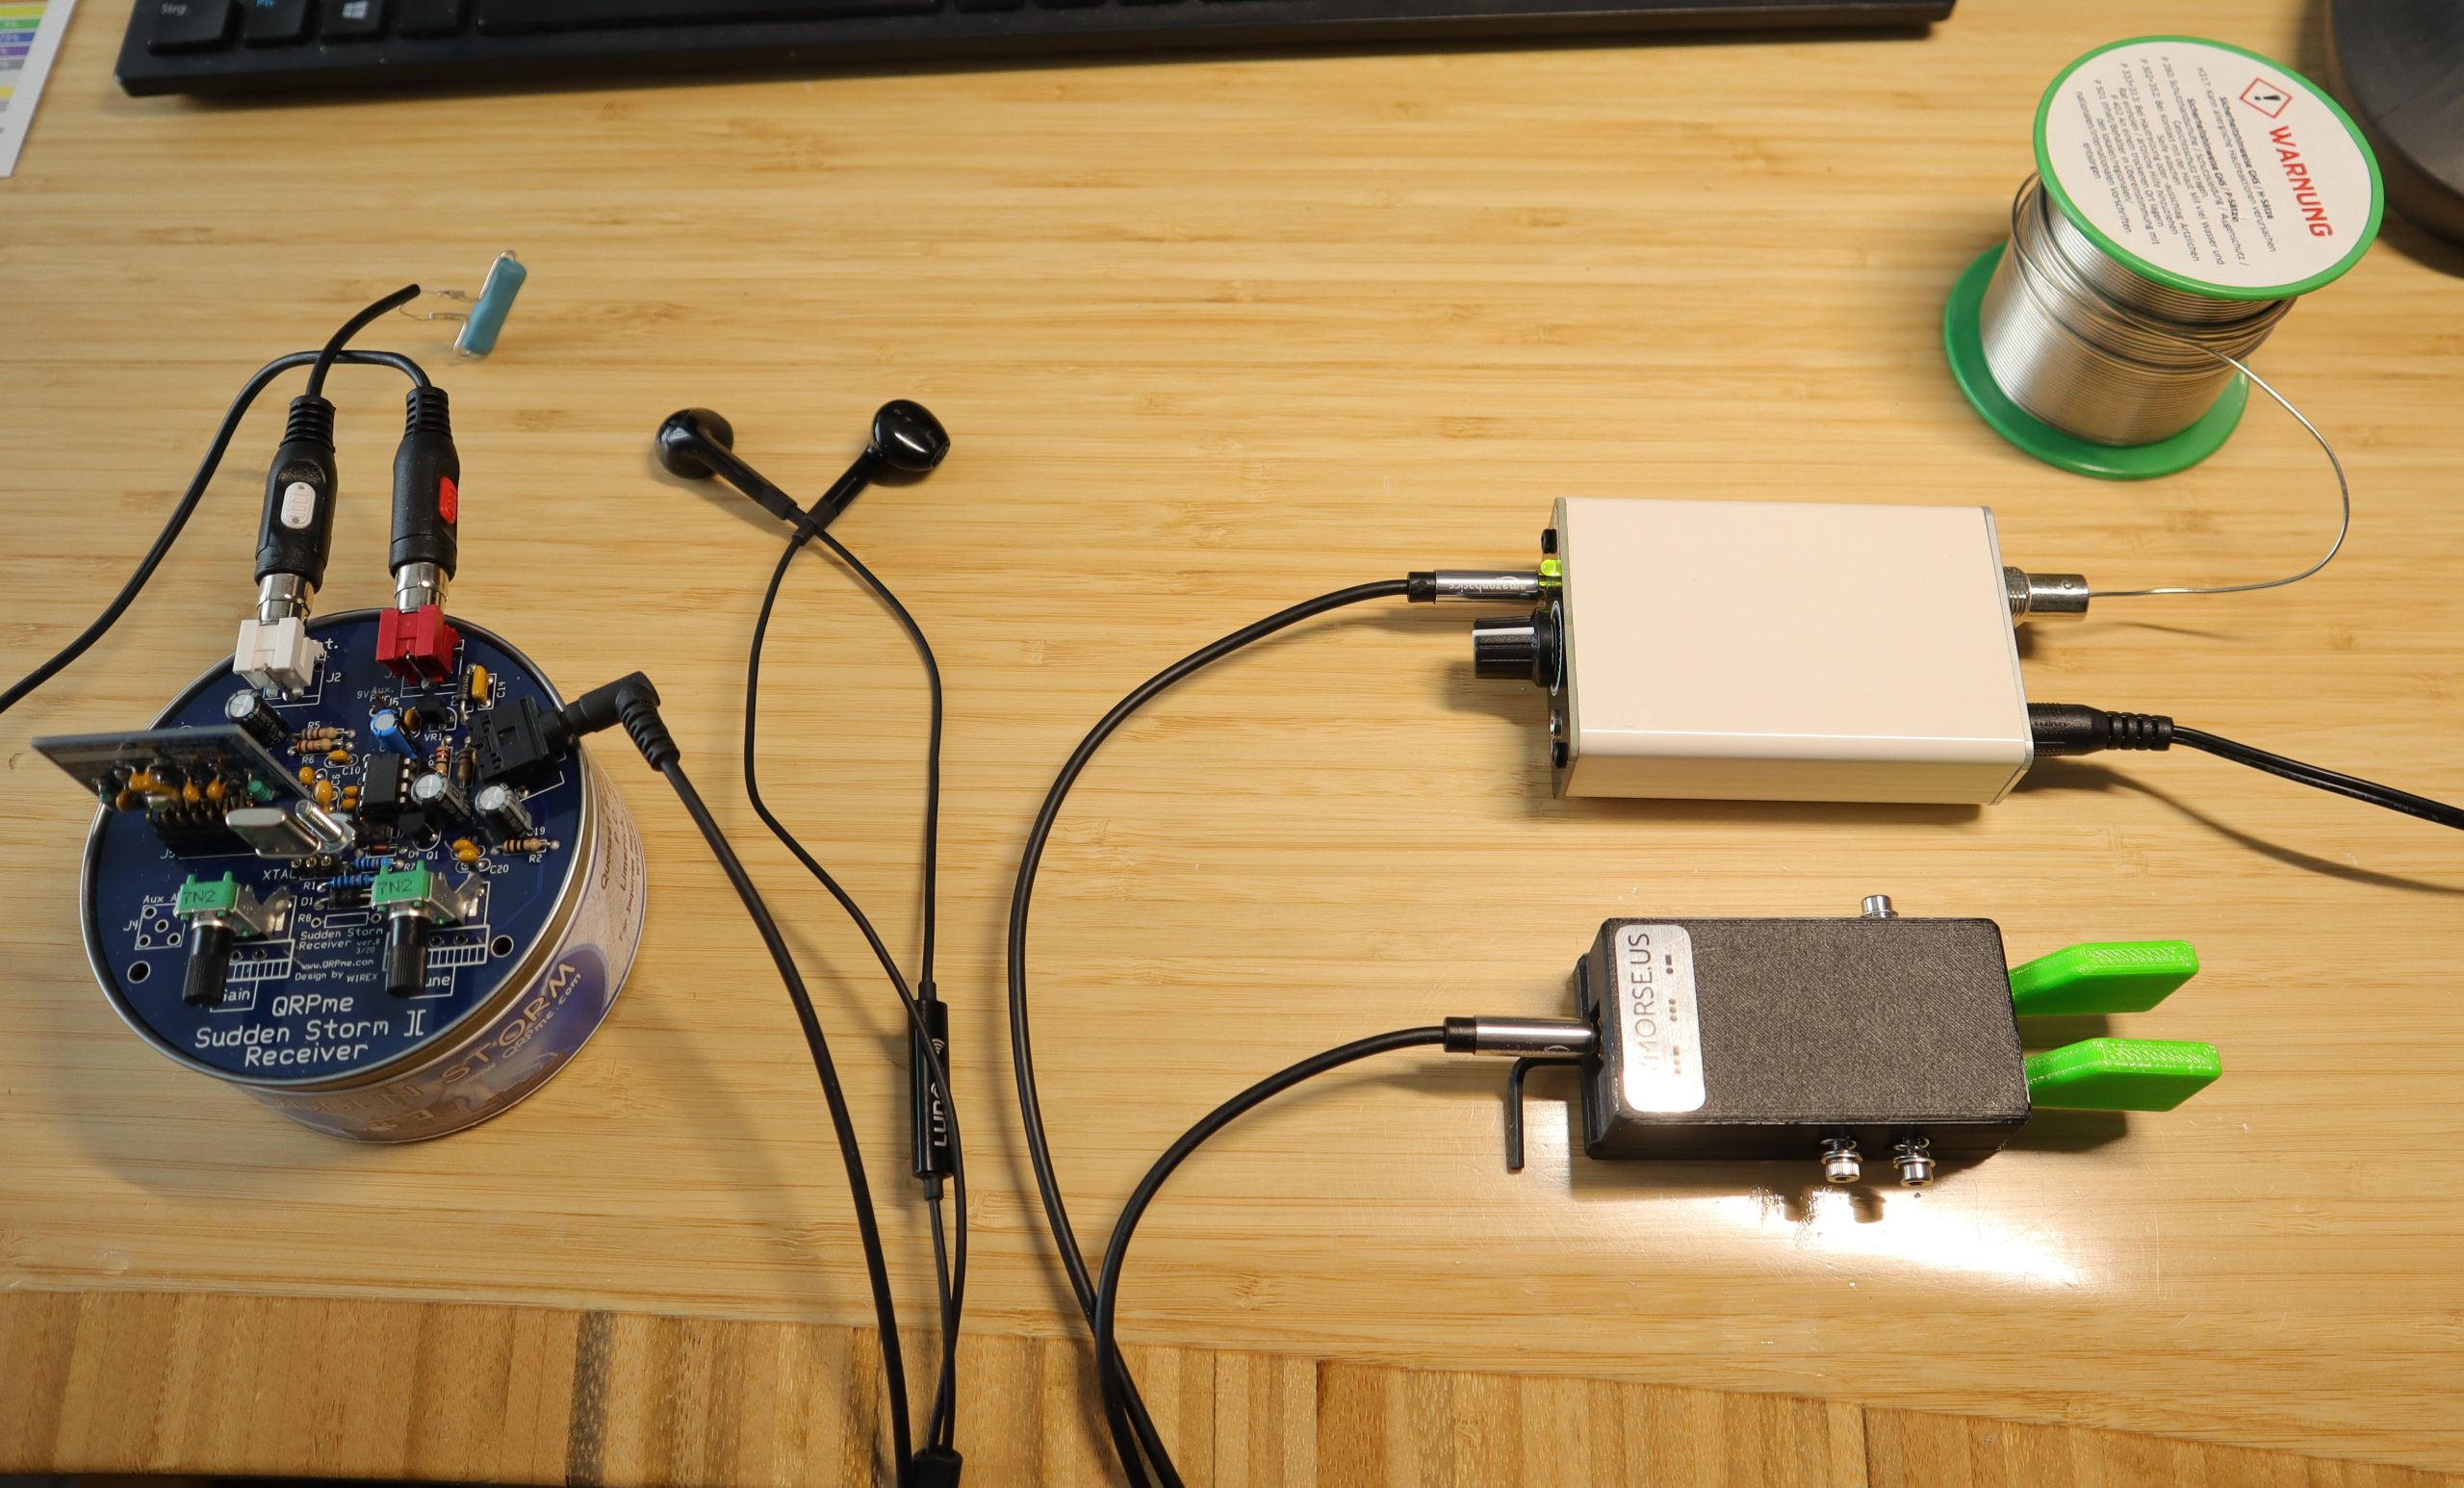
In order to receive the Rooster’s CW signal I used my QRPMe Sudden Storm tuna-can style rock-bound receiver, which happens to be also a rock-bound receiver working at 7,030 MHz. Below you can see my full test set-up consisting of my cwmorse.us Morse paddle (the Rooster expects a straight Morse key, so there’s no paddle functionality), the DUT Rooster transceiver and the Sudden Storm receiver with attached head phones. As a reception antenna I’ve used simple a self-constructed dummy load consisting of a single carbon power resistor.
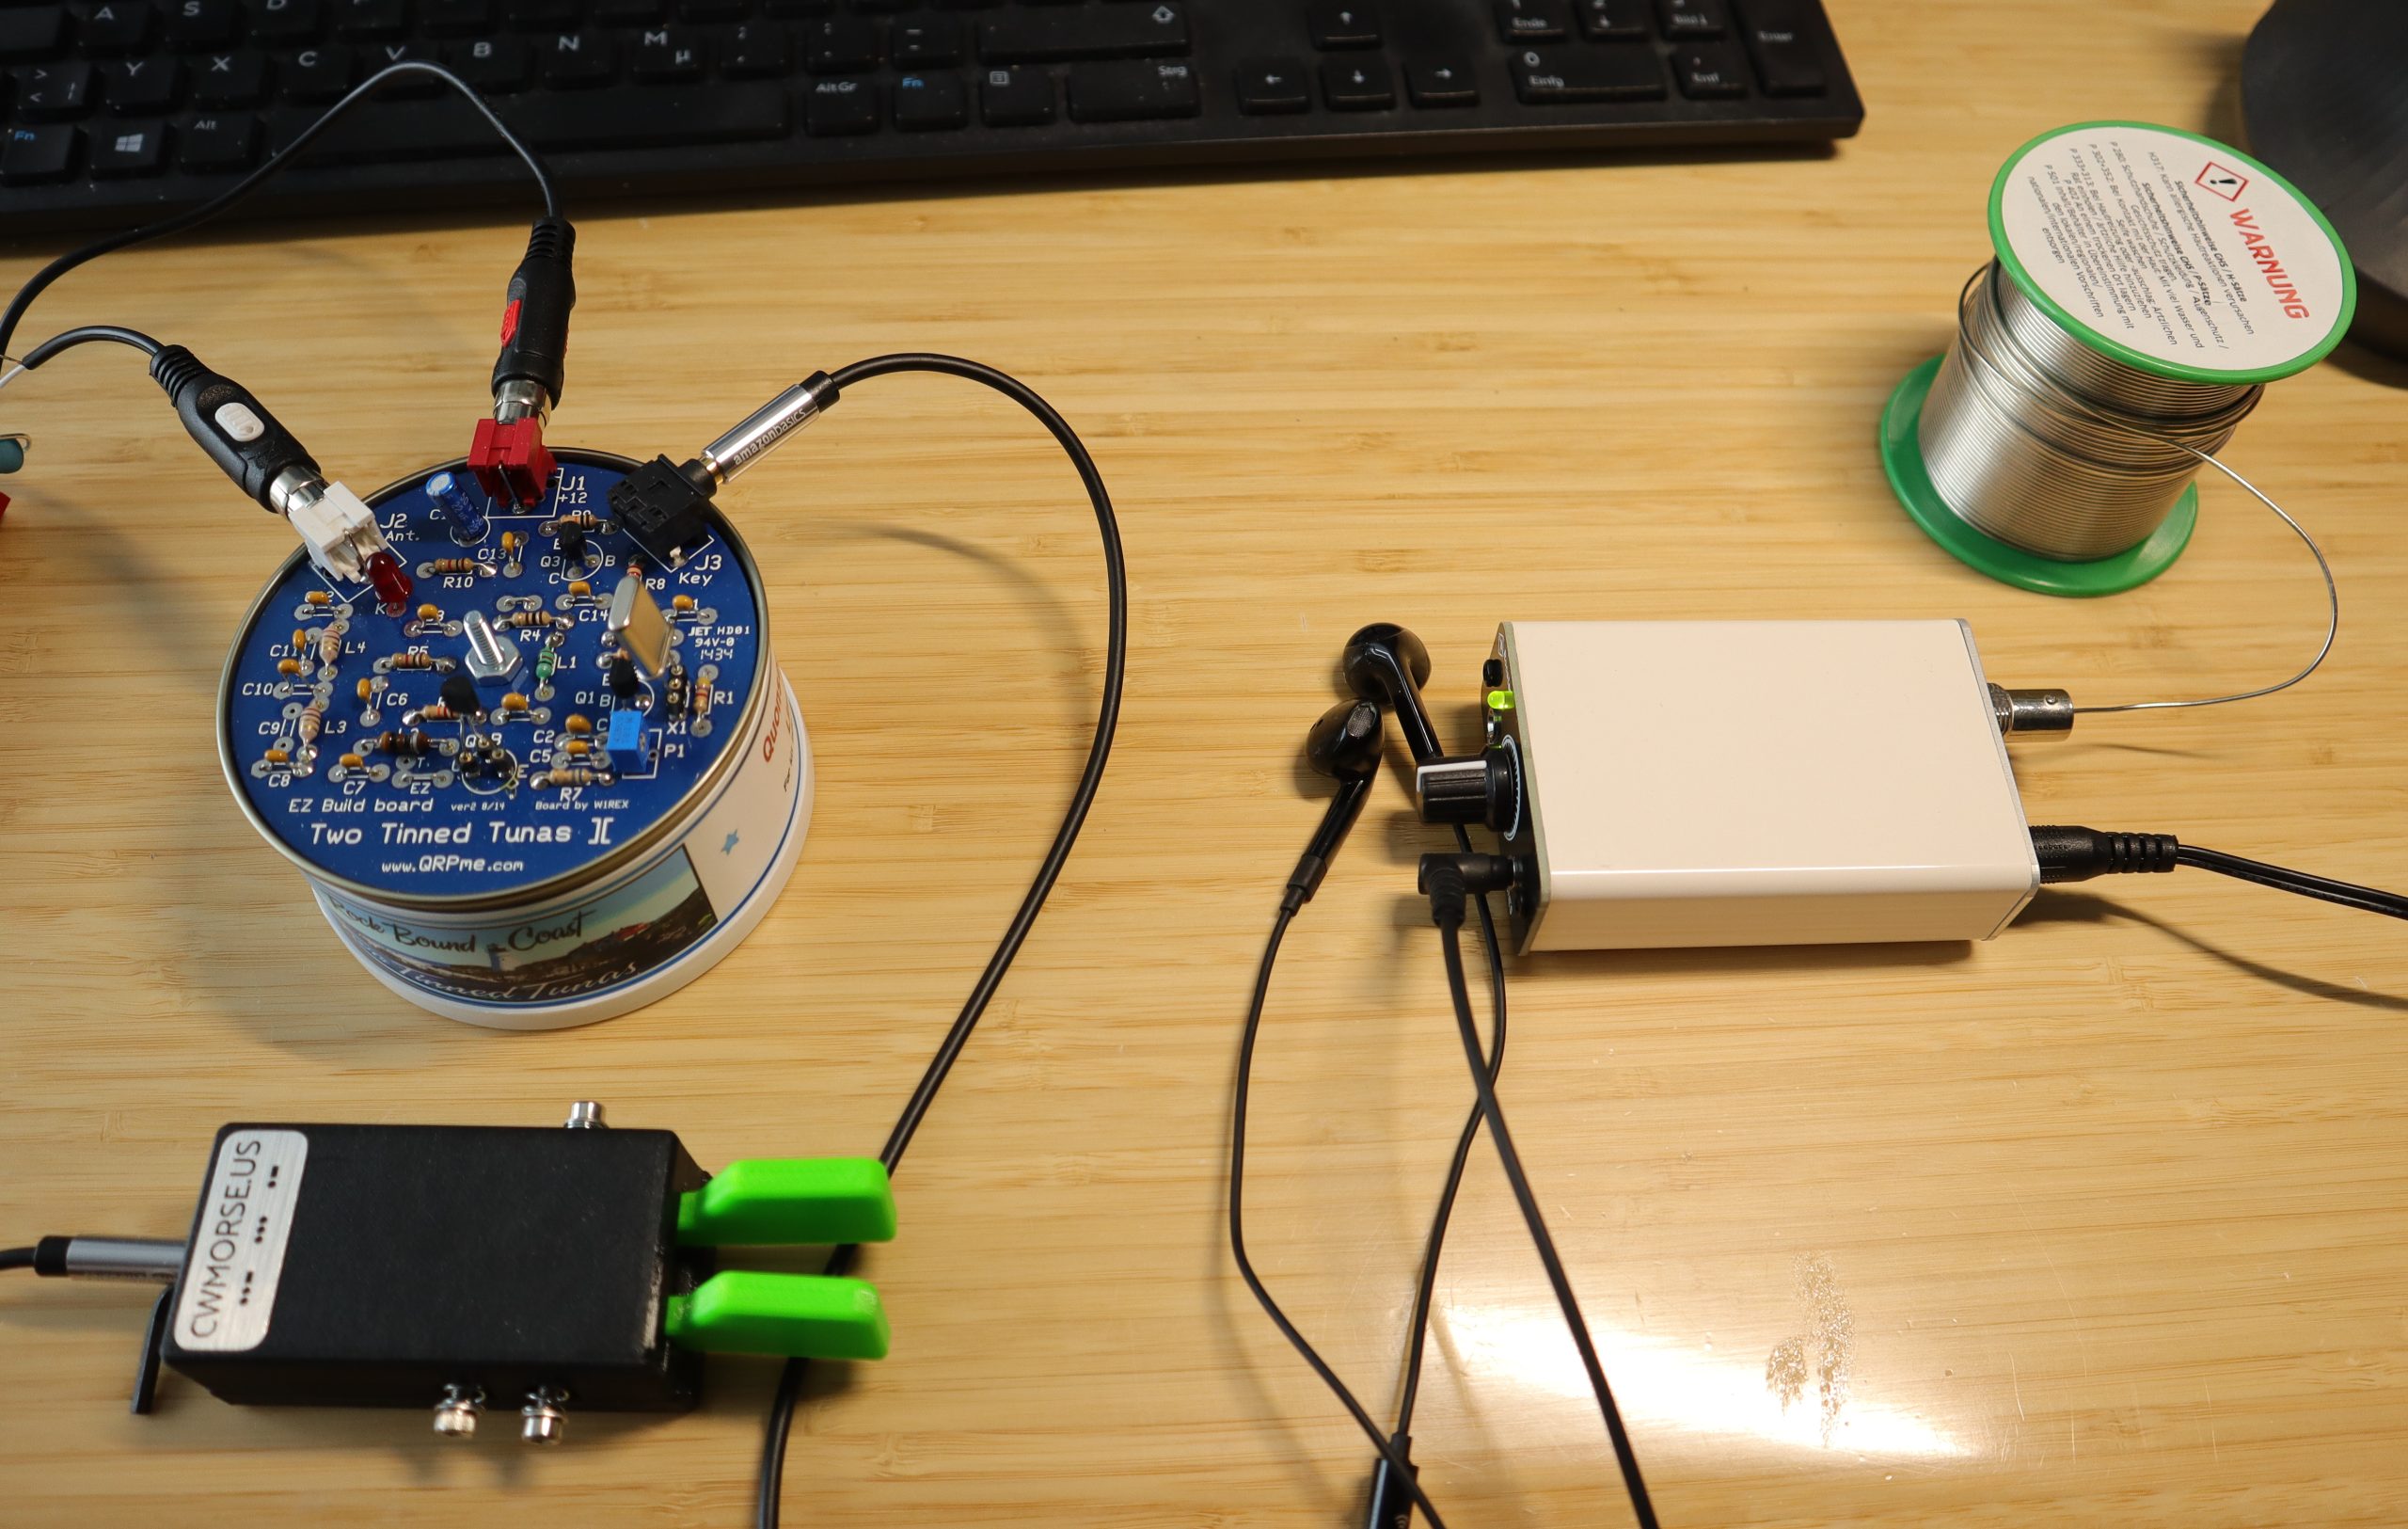
For testing the Rooster’s receiver I’ve used my QRPMe Two Tinned Tuna’s tuna-can style rock-bound CW transmitter. This time my Morse paddle is connected to the Two Tinned Tuna’s transmitter and the headphones are connected to the DUT Rooster transceiver. The same DIY dummy load is re-used as a transmit antenna.
Both reception and transmission tests proved successful and was a great opportunity to also test my latest QRPMe tuna-can builds 😉
Resources
Rooster-CW-Transceiver-40-30m-Rev-6-Instruction-Manual (119 downloads )Happy Rooster building and see you on the bands at 7.030 MHz ! 😉