
My portable ham radio setup for VHF and HF

Estimated reading time: 10 minutes
As outlined in my first post I simply love to operate battery powered in the great outdoors. Therefore it’s only natural to participate in the SOTA (Summits-On-The-Air) award program which requires setting up portable ham radio stations on the top of summits and conducting QSOs with fellow ham radio operators from there.
While getting QRV from any summit can be achieved with quite simple means I do realise the existence of an perceived entry barrier. In my opinion this is mostly due to a lack of searchable information concerning portable ham radio setups used by experienced operators. Unfortunately this is preventing newcomers from activating their first summit. As a result, not as many people as potentially could enjoy this fantastic aspect of ham radio. In this article I’ll be describing my portal ham radio setup used for both VHF and HF in order to give beginners a reference setup to expand upon.
Table of Contents
My portable VHF setup
So what do you truly need for portable ham radio on VHF? A simple handheld radio such as the Yaesu FT-270R totally suffices:
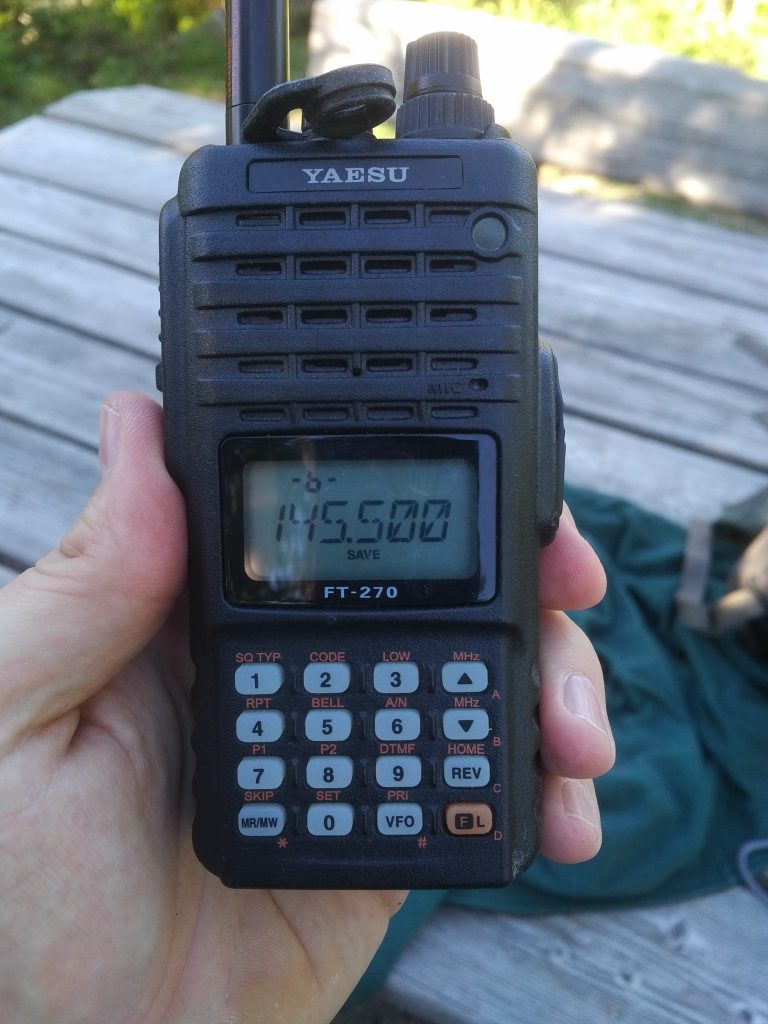
The FT-270R has an output power of 5W which is more than sufficient if you are operating from the top of a summit. While operating from OE/OO-080 „Sternstein“ on 2020/05/19 I managed a summit-to-summit QSO on 145.500 MHz with DL8MEK/P who was operating from DL/CG-095 „Seekopf“. The distance between those 2 summits is a whopping 154 km!
The great advantage of portable ham radio via VHF is that you just need to pack a hand held radio and off you go. Unless you forgot to charge it’s battery you can be sure that nothing will prevent you from getting QRV.
My portable HF setup
In order to get QRV on HF a bit more effort is needed. Here’s an overview over all the parts required for portable ham radio on HF:
- HF transceiver (e.g. Yaesu FT-817ND, Elecraft KX2).
- Microphone for your HF transceiver. I’m listing this separate from the transceiver since a microphone can usually be disconnected and therefore it’s easily forgotten at home.
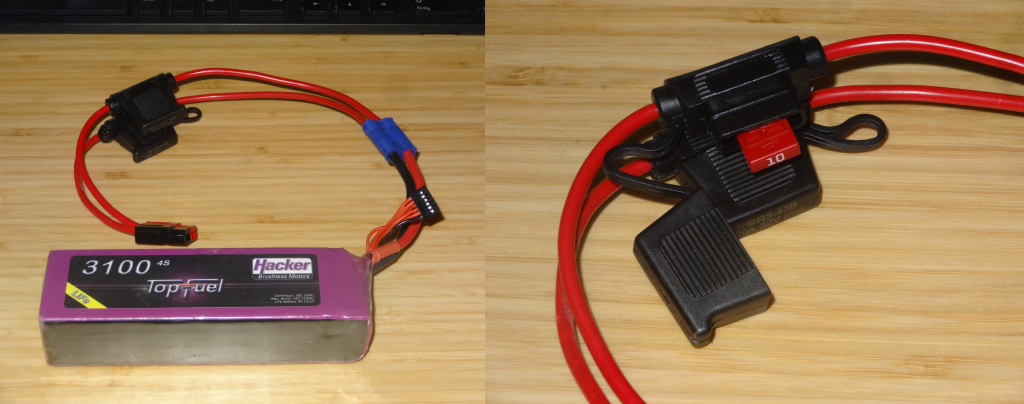
- Rechargeable battery (4S LiFePo, ~3000 mAh) and cable harness connecting the battery to your transceiver. It’s a good idea to include fuses as lithium based batteries are able to deliver high amount of current in a short-circuit situation.
- Portable antenna mast (extendable GFK masts work great and are light enough for carrying them to remote locations) including mounting material to setup your antenna mast.
- Either a multi-band HF antenna or multiple single-band HF antennas (at least for 40/20 m HF bands).
- Coaxial feeder cable connecting your transceiver with the antenna.
- In case you don’t have an internal antenna tuner you’ll need a balun matching your antenna to your transceiver. The benefits of having an external antenna tuner at hand are usually outweighed by the downside of carrying it around.
- Carrying case for safe and waterproof transportation of your radio equipment.
- Don’t forget your notepad and your ballpoint for logging all those contacts!
Radio/Microphone
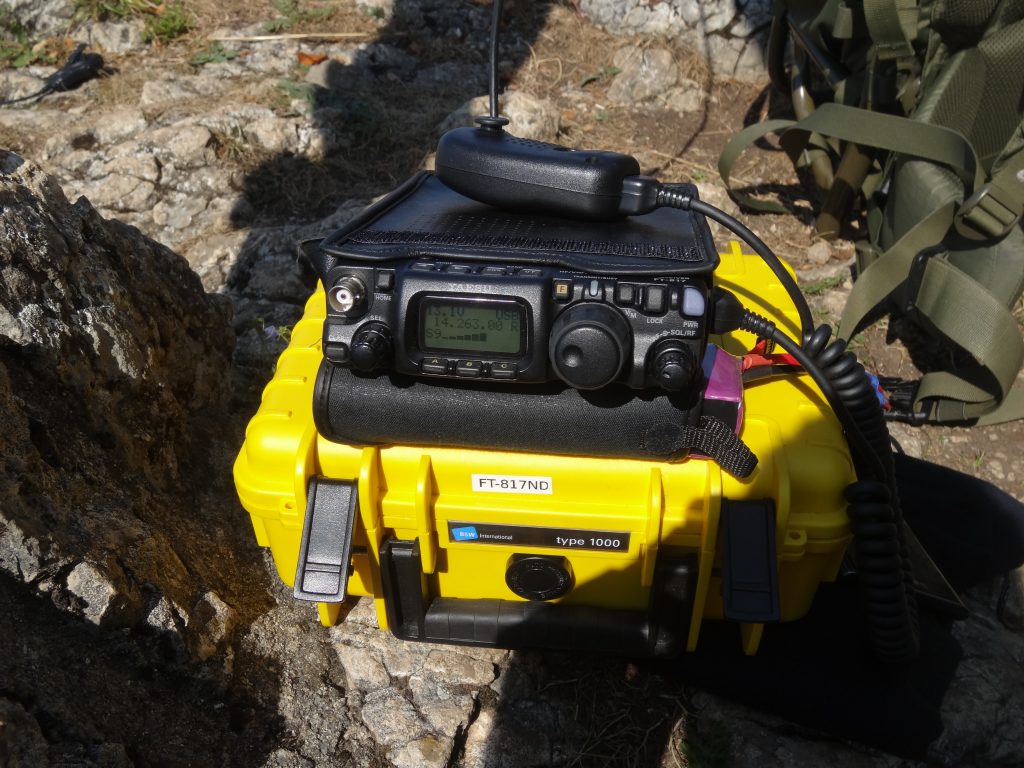
As a portable ham radio transceiver I’m relying on the Yaesu FT-817ND, a small and versatile multi-band (160 – 6m, 2m and 70cm), multi-mode (CW, AM, LSB, USB, FM, Data) transceiver with a output power of 5W. As a microphone I use the standard Yaesu MH-31A8J microphone.
Power Source
As power source a LiFePo battery with 4 cells (4S) is used. It has a nominal voltage of 13.2 V (perfectly suited to supply the FT-817ND which preferred voltage is defined as 13.8 V ± 15%) and a capacity of 3100 mAh. On both lines (VBAT+ and VBAT-) connecting the battery with the radio I’ve placed 10A fuses to defuse (haha) the most inconvenient perils of short circuiting lithium based batteries. The battery is connected with the fuse cable via a EC3 plug/receptable pair. It ends in a Anderson PP15/30/45 power connector which in turn is connected to the FT-817ND.
ATTENTION: Do not use LiPo batteries without any voltage reduction (e.g. diodes in VBAT line, linear voltage regulator, …). A fully charged LiPo battery has a cell voltage of ~4.2V. Hence a fully charged 4S LiPo battery has a VBAT of 16.8V! This voltage is high enough to damage your transceiver!
Antenna Mast
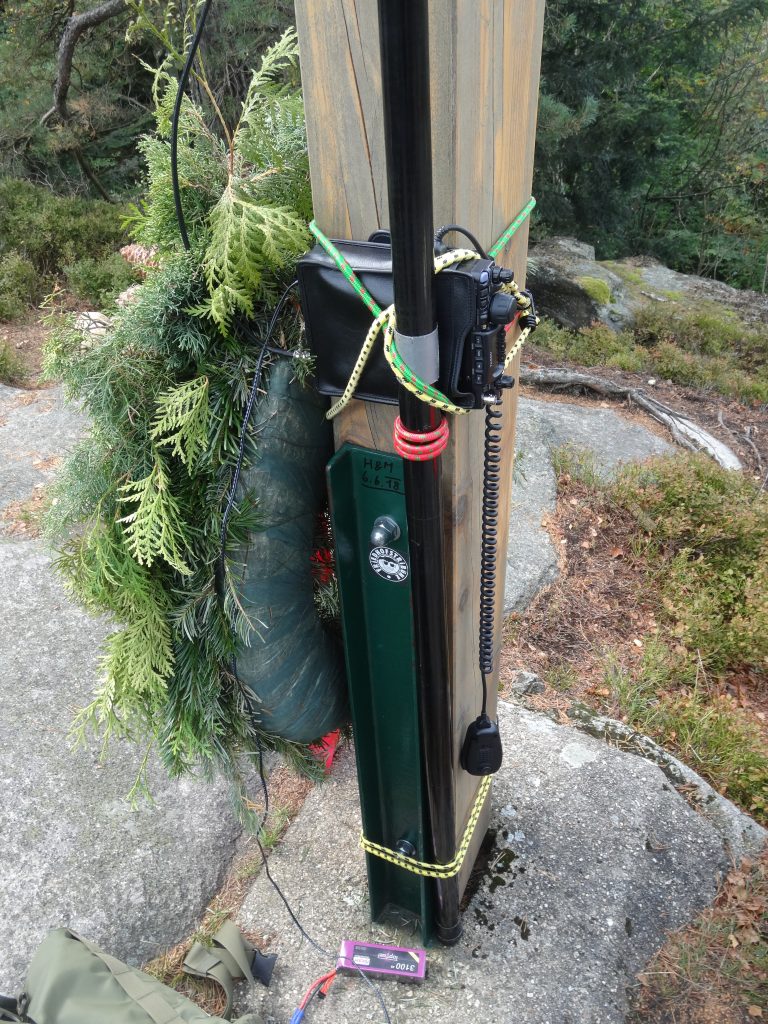
As antenna mast I’m using a 10 m GFK (fiberglass) telescopic mast available via SOTABEAMS. Because the elements get progressively thinner I’ve removed the top 3 elements to allow mounting a rather bulky balun. This reduces the effective height of the antenna to approximately 7 m which is still more than sufficient.
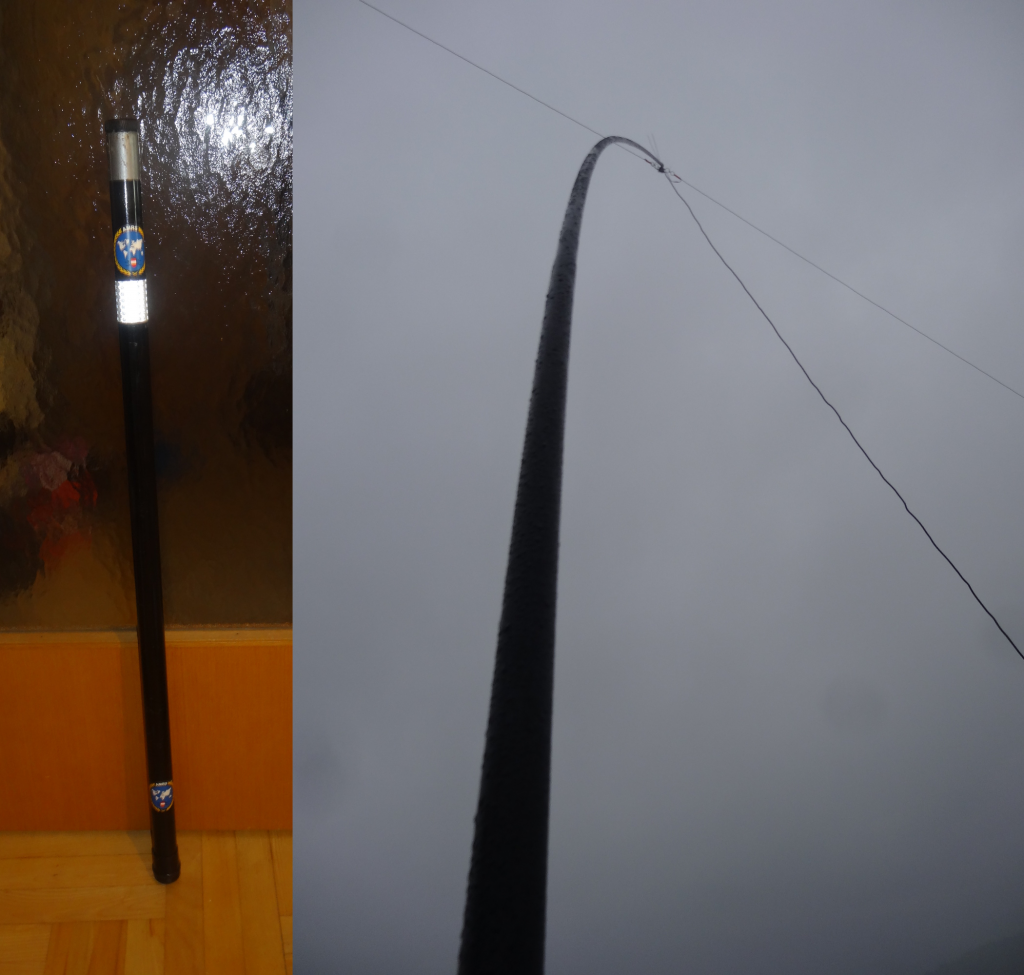
In order to securely mount the antenna mast I’m using expander ropes to fasten the mast to sturdy objects. A secure mount is absolutely necessary given that a antenna mast is basically a very long lever. Even just a small force exerted by the antenna wires at the top of the mast (= long side of the lever) is transformed into a large force at the base of the mast (= shorter side of the lever). This effect can easily upend your mast.
Antenna
For my actual antenna I use a home-built inverted V dipol triband antenna for 40/30/20m. Two antenna traps on each dipol ensure that each signal only „sees“ the optimal dipol length for its frequency. A portable HF antennas are a huge topic on its own. Hence I shall refrain from going more into detail here lest I blow the scope of this article.

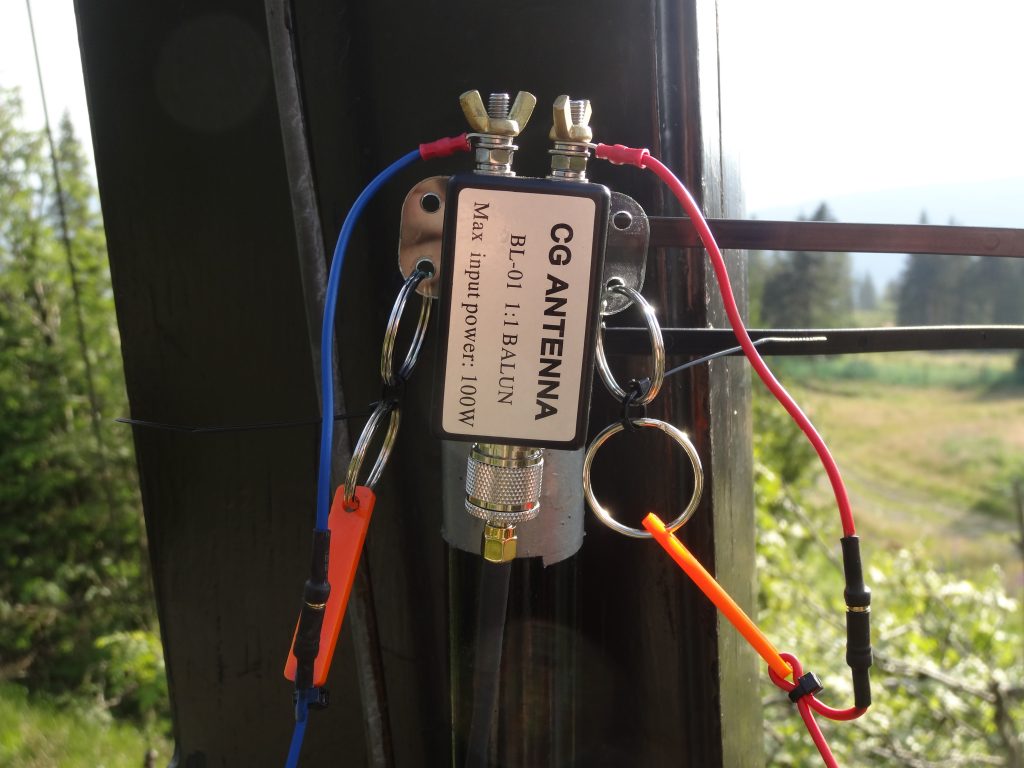
The inverted V dipol antenna represents a balanced load but the coaxial feeding cable the antenna is a unbalanced source. Thus a balun converting the unbalanced signal to a balanced signal is necessary. For this purpose I am using a CG Antenna BL-01 1:1 BALUN. Mounted on the top of the antenna mast, it represents the tip of the inverted V dipol antenna. Note: This balun is rated for 100 W which is a bit of an overkill considering that the FT-817ND is only capable of delivering 5W.
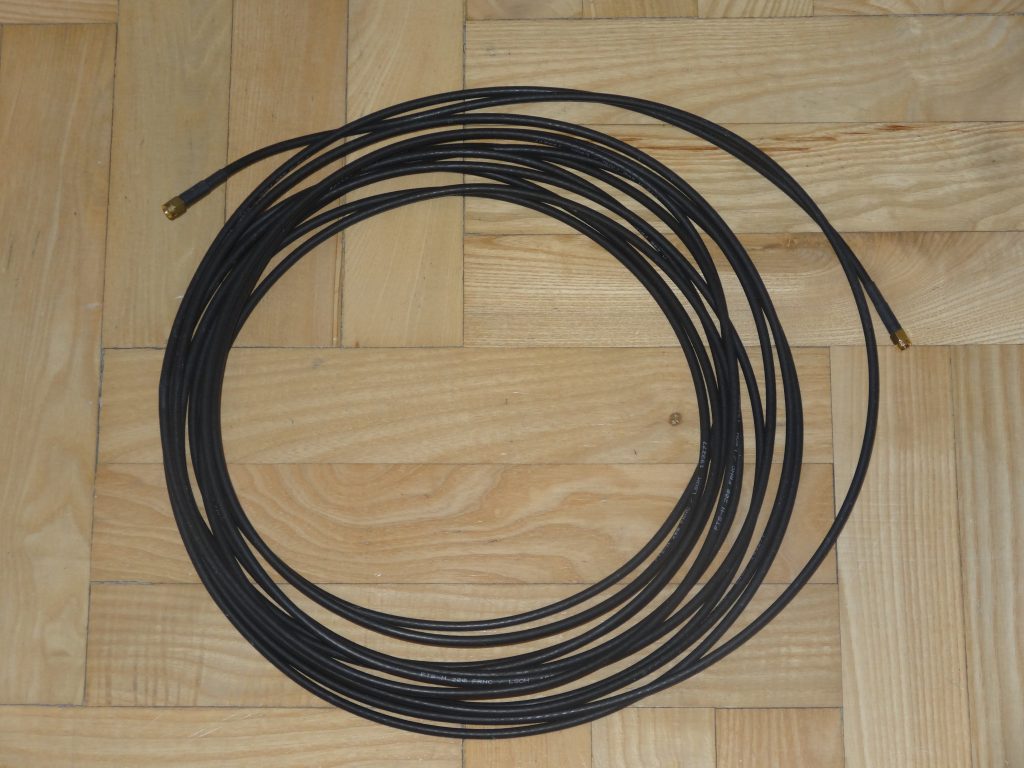
For connecting the FT-817ND transceiver with the balun feeding the dipol antenna I’m employing a 10 m FTS-H 200 PVC coaxial cable with male SMA connectors on both ends. Both the radio and balun HF connectors are of type UHF female. An UHF Male/SMA Female adapter has been permanently connected to both radio and balun to allow easy connection.
Update: Here’s a a more detailed article on my multi-band inverted-vee trapped dipole.
Transport Case
As transport case for all electronics parts I use a yellow B&W Type 1000 Outdoor Case. Although a bit heavy it allows for waterproof transportation of all the electronic parts.
As you’ve seen there’s rather a lot of equipment necessary for performing portable ham radio on the HF bands. If you forget one of these parts at home you won’t be able to radio. However, the increased radio range (due to skywave propagation) makes the additional complexity and weight well worth it.
Also, in order to achieve a valid activation you are required to have at least 4 valid QSOs. During weekdays it won’t always be possible to collect 4 QSOs on VHF only. Therefore lugging HF equipment up the summit is sometimes the only way to ensure a successful activation.